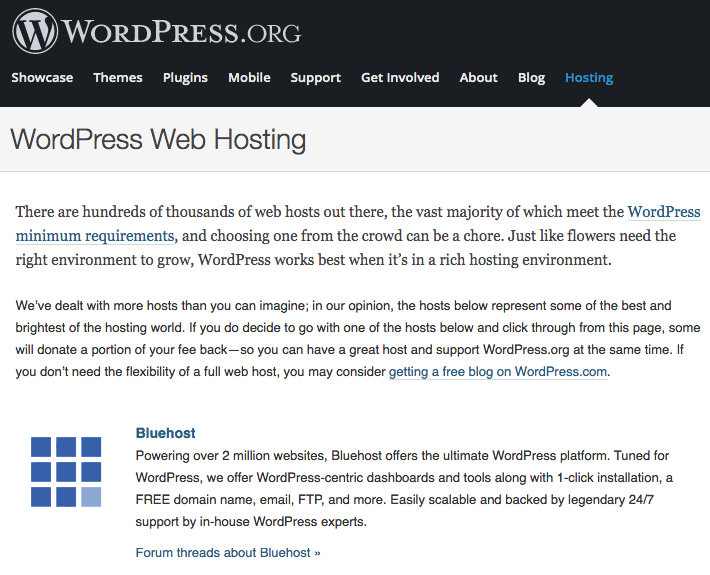
If you are a just getting started with WordPress, and you are wondering how to install WordPress on BlueHost, then you are at the right place. BlueHost is one of the best WordPress web hosting companies today. Its so good that even the WordPress team recommends it. Here’s a screenshot from WordPress.org website that lists BlueHost as a recommended WordPress web hosting company.
Although its really simple to install WordPress on BlueHost, its still good to follow this step by step guide just to be sure that you are not missing any steps while you try to install WordPress on BlueHost for the first time.
Note that if you have purchased the basic plan on Bluehost, you can have only one WordPress installation on it, and its automatically installed for you. No additional step is necessary. You can just click on ‘Login to WordPress’ link in your Bluehost dashboard to login to your automatically created WordPress website.
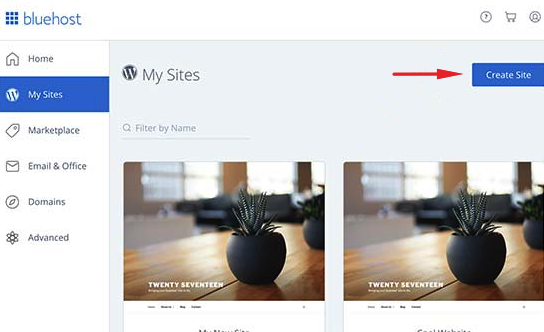
If you have any BlueHost plan other then the basic one, you will have one default installation of WordPress, which you can access in the same way as describe for the basic plan above, just click on ‘Login to WordPress’ link. To create more websites and install WordPress on the, click on ‘My Sites’ tab in the right sidebar of your BlueHost panel, and click on ‘Create Site’ in the top right corner.
This will start the world’s easiest WordPress installation wizard. In the first step, fill the title and tagline of the WordPress website you want to create. Don’t worry, you can always change it later from Settings > General of the WordPress site.

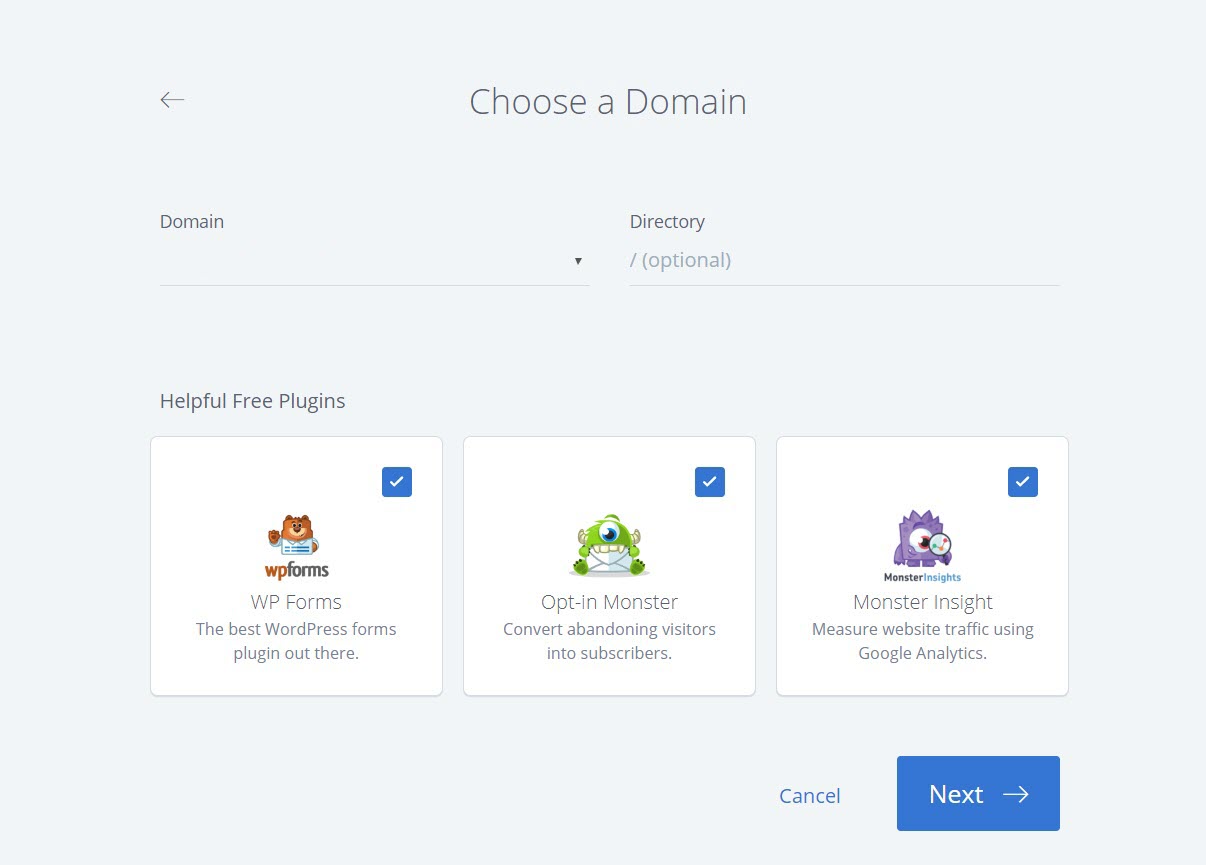
Click Next to add the domain name where you want to install WordPress. If you haven’t already purchased this domain name, you can right click on Domains tab in your BlueHost panel to open it in new tab to purchase a new one right there.
Believe it or not, that’s it. These were the only steps you need to take to install WordPress on BlueHost. I am not sure if I should call it step”s” as it only took two clicks to install WordPress! You’ll see the following message once its installed.
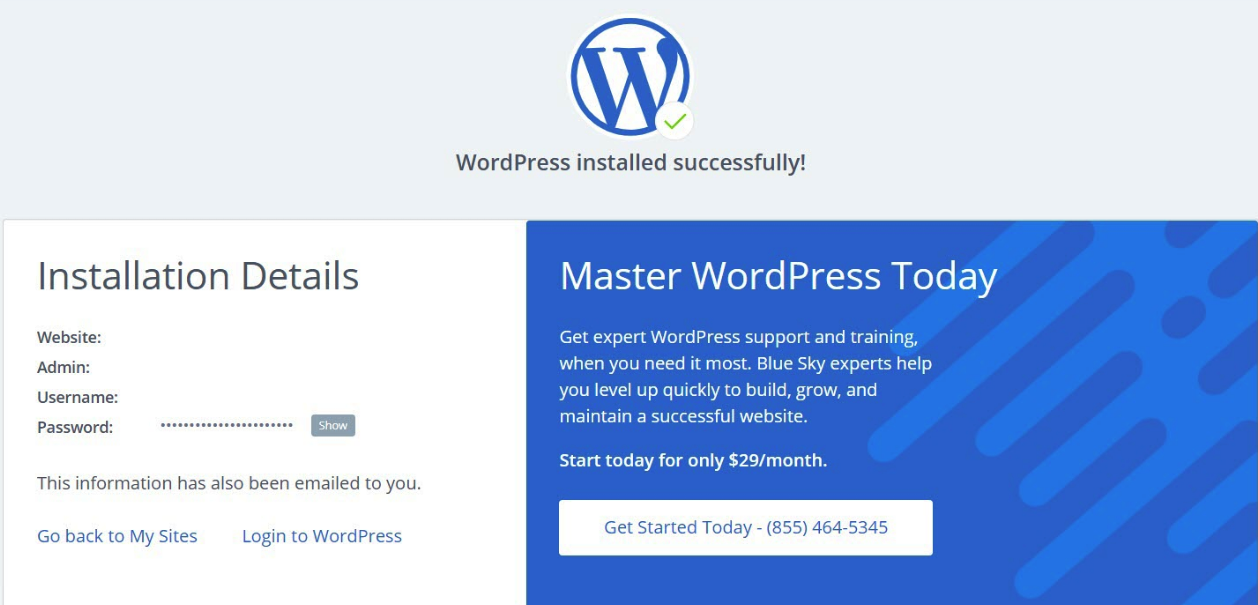
There’s no need to save the details displayed on the final screen as the same details will be sent over to your email by BlueHost.